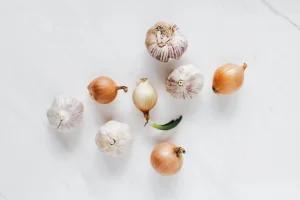
Garlicky Kraut
Garlicky Kraut I don’t steer too far from the norm when it comes to sauerkraut, but I do love garlic...
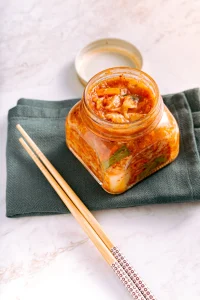
Kicking it Making Kimchi
Kicking it Making Kimchi Kimchi can have many, many versions of itself…its origin is known to be Korea, and I...
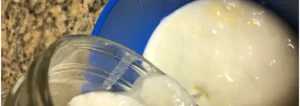
Wakey Wakey Water Kefir Grains
Wakey Wakey Water Kefir Grains Water Kefir Grains are by far one of the easiest (and most fun) cultures I have...
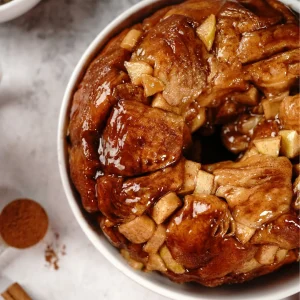
Monkey Bread: Deliciously Sticky Gooey Gluten-Free Sourdough Blobs
Monkey Bread: Deliciously Sticky Gooey Gluten-Free Sourdough Blobs Awhile back a friend brought to a party something called “monkey bread”...
Caring For Water Kefir Grains: Fermentation Do’s and Don’ts
Caring For Water Kefir Grains: Fermentation Do’s and Don’ts Water kefir grains are a type of symbiotic culture of bacteria...
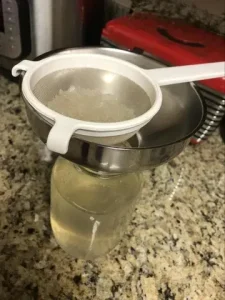
Water Kefir Ingredients
Water Kefir Ingredients Water Kefir is one of the easiest cultured drinks to make. In addition to the grains, all you...
Troubleshooting Your Water Kefir Grains
Troubleshooting Your Water Kefir Grains Your Water Kefir Grains might give you a run for your money (and patience) now and...
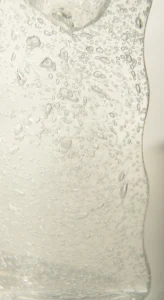
Water Kefir: Pop and Fizz!
Water Kefir: Pop and Fizz! The second fermentation is a step many don’t realize needs to happen before you can get...
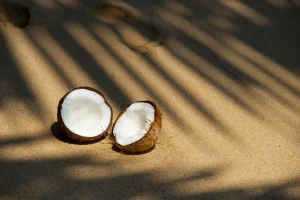
Sourdough Coconut Biscuits
Sourdough Coconut Biscuits These are the tastiest little “biscuits” made from a gluten-free starter. Be warned, it can get very sour, so...
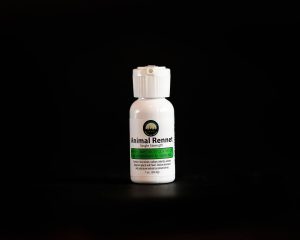
MA 11 + Animal Rennet = Chevre Cheese-a-licious!
MA 11 + Animal Rennet = Chevre Cheese-a-licious! Making your own homemade Chevre is rewarding and delicious. If you haven’t...